Panel Tag Co · specification guide
Send panel tag kits to international installation sites
Count unique legends, physical copies and installation kits separately. Preserve identifiers as text and attach the approved drawing revision, dimensions and mounting detail to each group. Split the packing schedule by panel or site without changing the source identifiers.
Reviewed 2026-09-05 · AI-assisted editorial review. General buying guidance; illustrative scenarios are not customer case studies. Images are AI-generated concepts.
Choose the construction before counting the shipment
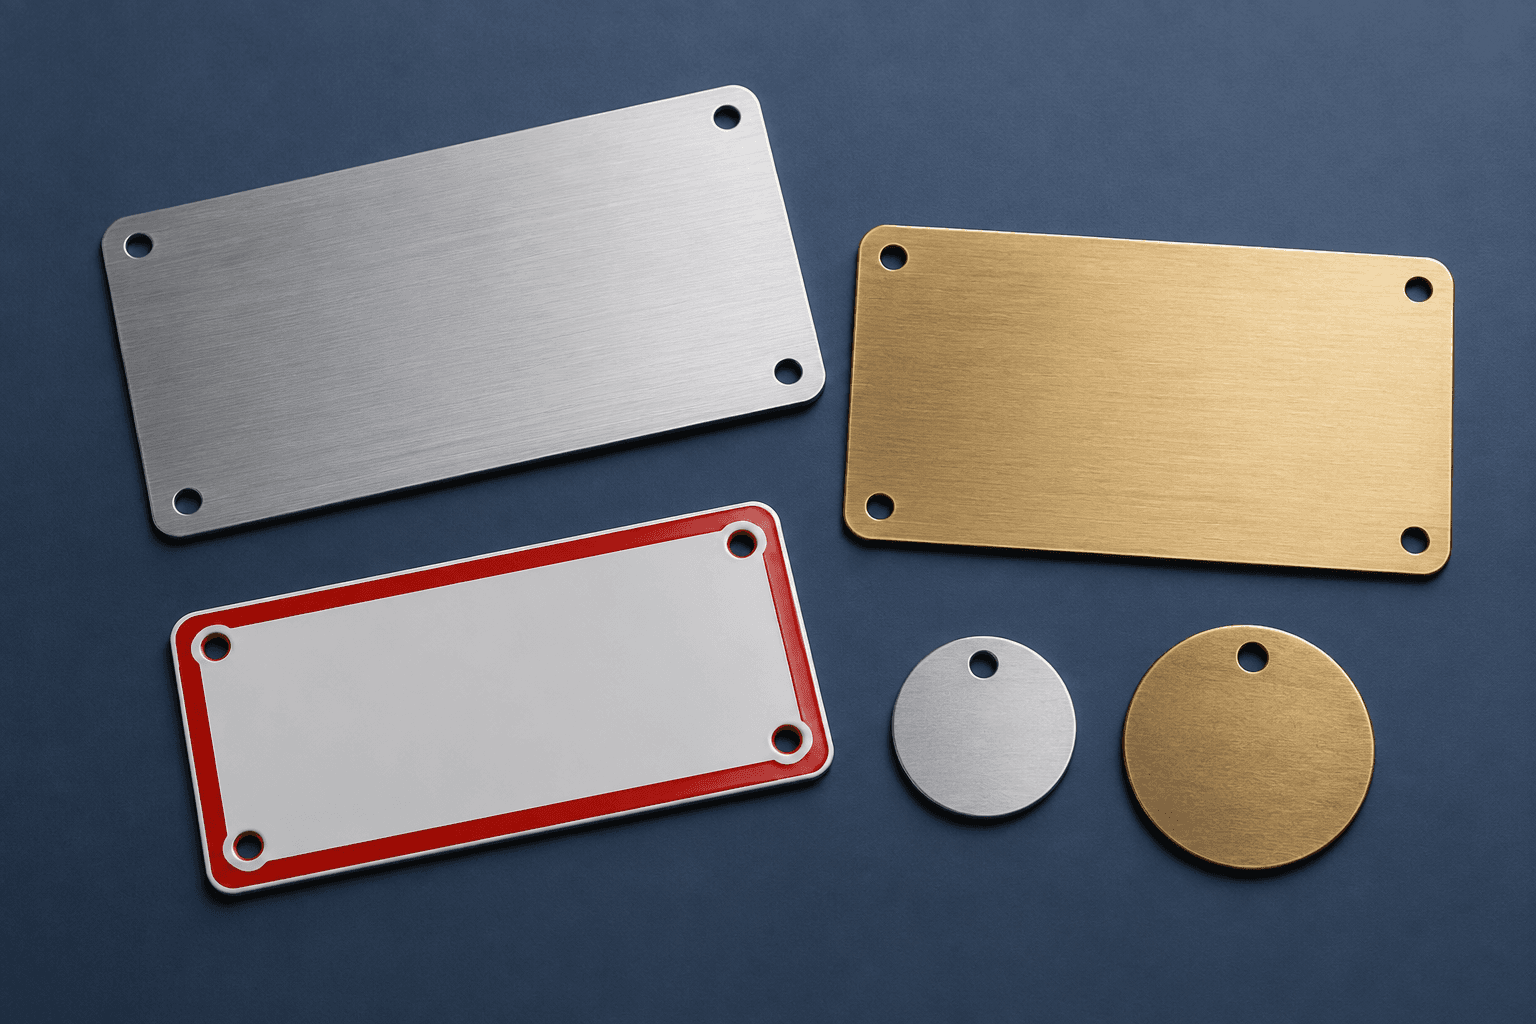
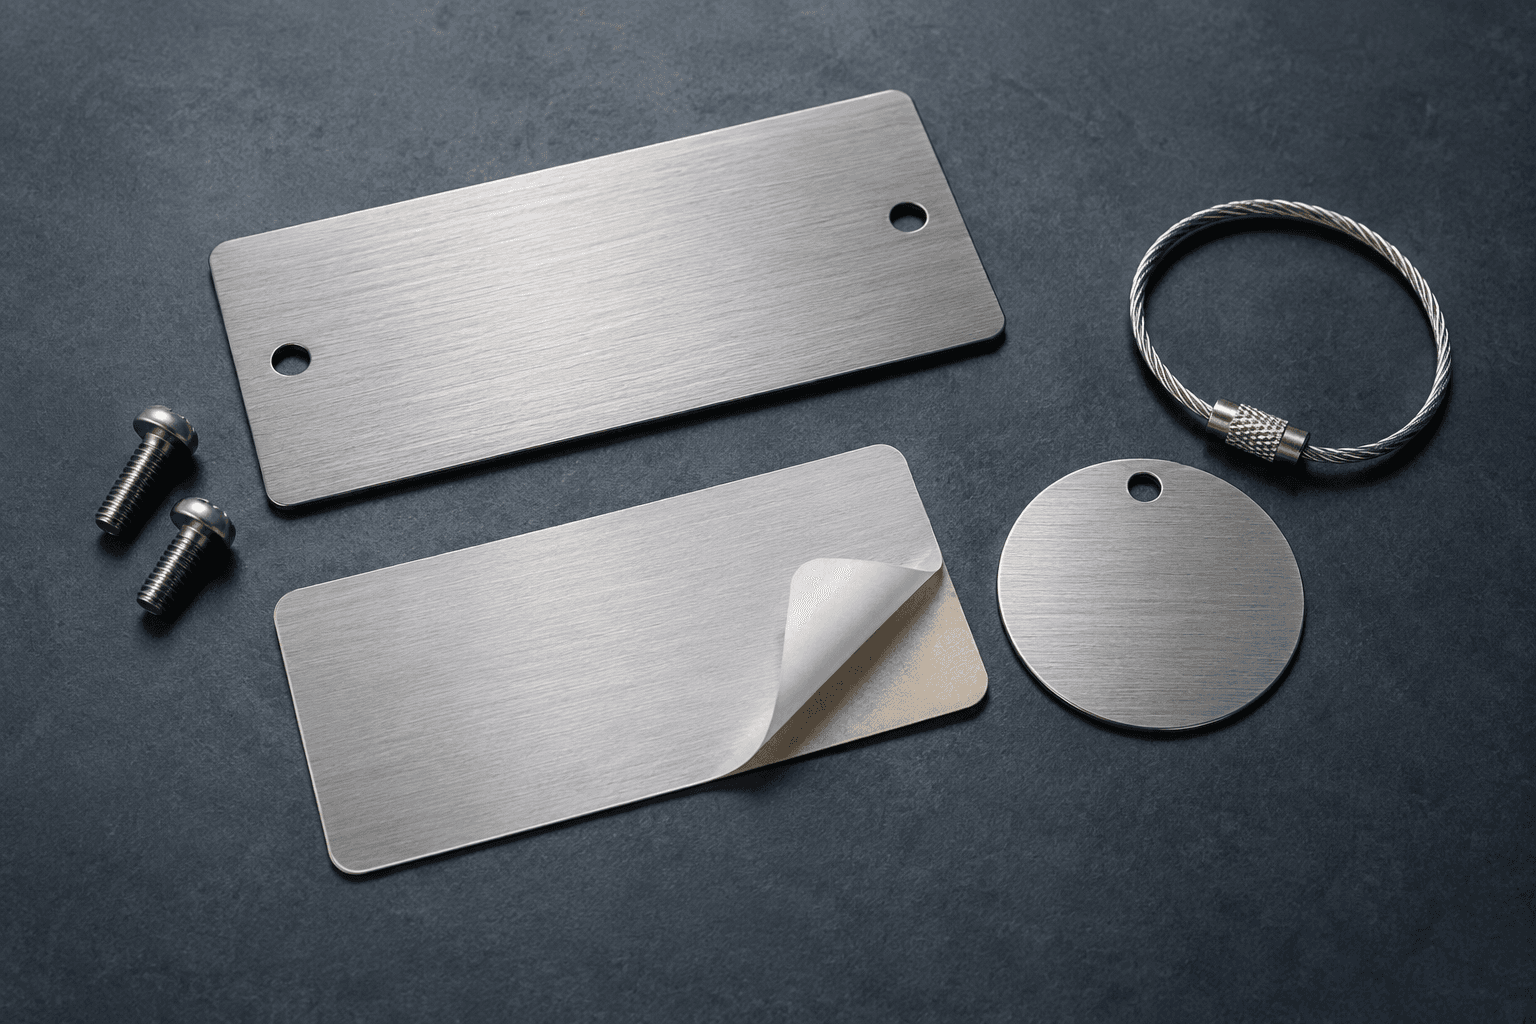
A tag family can share an outline while every legend differs, or one approved legend can repeat many times. Those are different artwork and production schedules. Record the exact material and exposure requirements supplied by the responsible project team. A broad term such as metal does not establish an alloy, coating or marking performance. If the customer provides existing-hole dimensions, preserve the original unit and identify the drawing's controlling measurements.
A worked quantity example
Illustrative order: six control panels each need 14 identification tags and two warning plates. That is 96 physical pieces. If 10 identification legends repeat across all six panels and four are unique per panel, the identification portion contains 34 unique legends: 10 shared plus 24 panel-specific. The warning layouts must be counted separately from their 12 physical copies. Use a legend reference and a panel packing reference together; neither column can replace the other.
Compare relevant design starting points
The catalog offers different starting points for this brief. Compare the intended use and proposed specification below, then ask which construction and included components fit your own receiving and display plan. These are design proposals, not measured packed goods.
| Option | Intended use | Proposed material and size | Personalization |
|---|---|---|---|
| Equipment Panel Tag Set | Turn a circuit schedule into a coordinated identification set. This tag set brings panel headings and individual circuit labels together around the naming system your team already uses. | Specified aluminum, brass or engraving laminate. 3 × 1 in per label | Panel ID; Circuit; Description; Location |
| Machine & Equipment Nameplates | Give a machine or piece of equipment an identification plate linked to its records. The layout can combine an asset number, description and selected technical fields you supply. | Aluminum or stainless. 3" x 2" to 6" x 3" | Asset ID; Equipment; Location; Reference |
| Control Cabinet & PLC Labels | Make a control cabinet easier to navigate with labels for devices, terminals or approved functions. The set can follow the identifiers already used in the drawings. | Phenolic or acrylic. Custom small formats | Cabinet; Device; Function; Drawing reference |
| Safety & Instruction Plates | Place approved operating or safety instructions directly beside the equipment they describe. The plate can organize a heading, short steps and required symbols you provide. | Aluminum or phenolic. 4" x 3" to 8" x 5" | Equipment; Heading; Step one; Reference |
When to consider Equipment Panel Tag Set
Start with the approved panel schedule and match every printed identifier to it. Provide label sizes, attachment and exposure requirements; the set identifies equipment and does not verify the electrical design or circuit information supplied.
Example layout fields: Panel ID: LP-02; Circuit: 07; Description: Lobby Lighting; Location: Ground Floor. The names and wording are illustrative. Open this design from the collection to replace them with your approved information.
When to consider Machine & Equipment Nameplates
Specify whether the plate supplements an existing manufacturer nameplate or replaces a damaged custom label. Reproduce only verified data, and provide exposure and mounting details before selecting the material or adhesive.
Example layout fields: Asset ID: EQ-0042; Equipment: Transfer Pump; Location: Plant Room 2; Reference: Maintenance Schedule A. The names and wording are illustrative. Open this design from the collection to replace them with your approved information.
When to consider Control Cabinet & PLC Labels
Preserve punctuation and capitalization where they distinguish device names. Provide the final label schedule and available space, and have the responsible technical team verify the mapping before production.
Example layout fields: Cabinet: CP-02; Device: PLC-01; Function: Main Controller; Drawing reference: E-204. The names and wording are illustrative. Open this design from the collection to replace them with your approved information.
When to consider Safety & Instruction Plates
Have the responsible person approve the wording, symbols and applicable specification. A custom plate reproduces that information; the design service does not independently certify the machine, procedure or regulatory compliance.
Example layout fields: Equipment: Wash Station 2; Heading: Operating Instructions; Step one: Follow the approved site procedure; Reference: Procedure WS-02. The names and wording are illustrative. Open this design from the collection to replace them with your approved information.
Keep the piece count separate from the delivery plan
Use exact legend as text, drawing revision, copies and installation kit, material, dimensions and mounting as the project-specific headings in the specification file. Add a stable row reference, the quantity of physical pieces and a receiving group. If two pieces share artwork but go to different destinations, keep separate delivery rows. If one person intentionally receives two different awards or signs, preserve both product rows. Repeated names alone are not an error.
The worksheet below totals the pieces you enter and reconciles them by receiving reference. It does not infer how many packages will be needed. One large assembly can require more than one package, and several small pieces may share a package when the final packing plan permits it. Ask for the packed dimensions, weights and component list after the construction is settled. Keep the receiving group names consistent; two slightly different labels are treated as two groups.
Use one controlling unit on the drawing
One inch equals exactly 25.4 millimeters. The worksheet converts entered width and height using that relationship and keeps the original values visible. A converted display is a convenience for review; it does not create a fabrication tolerance or certify physical fit.
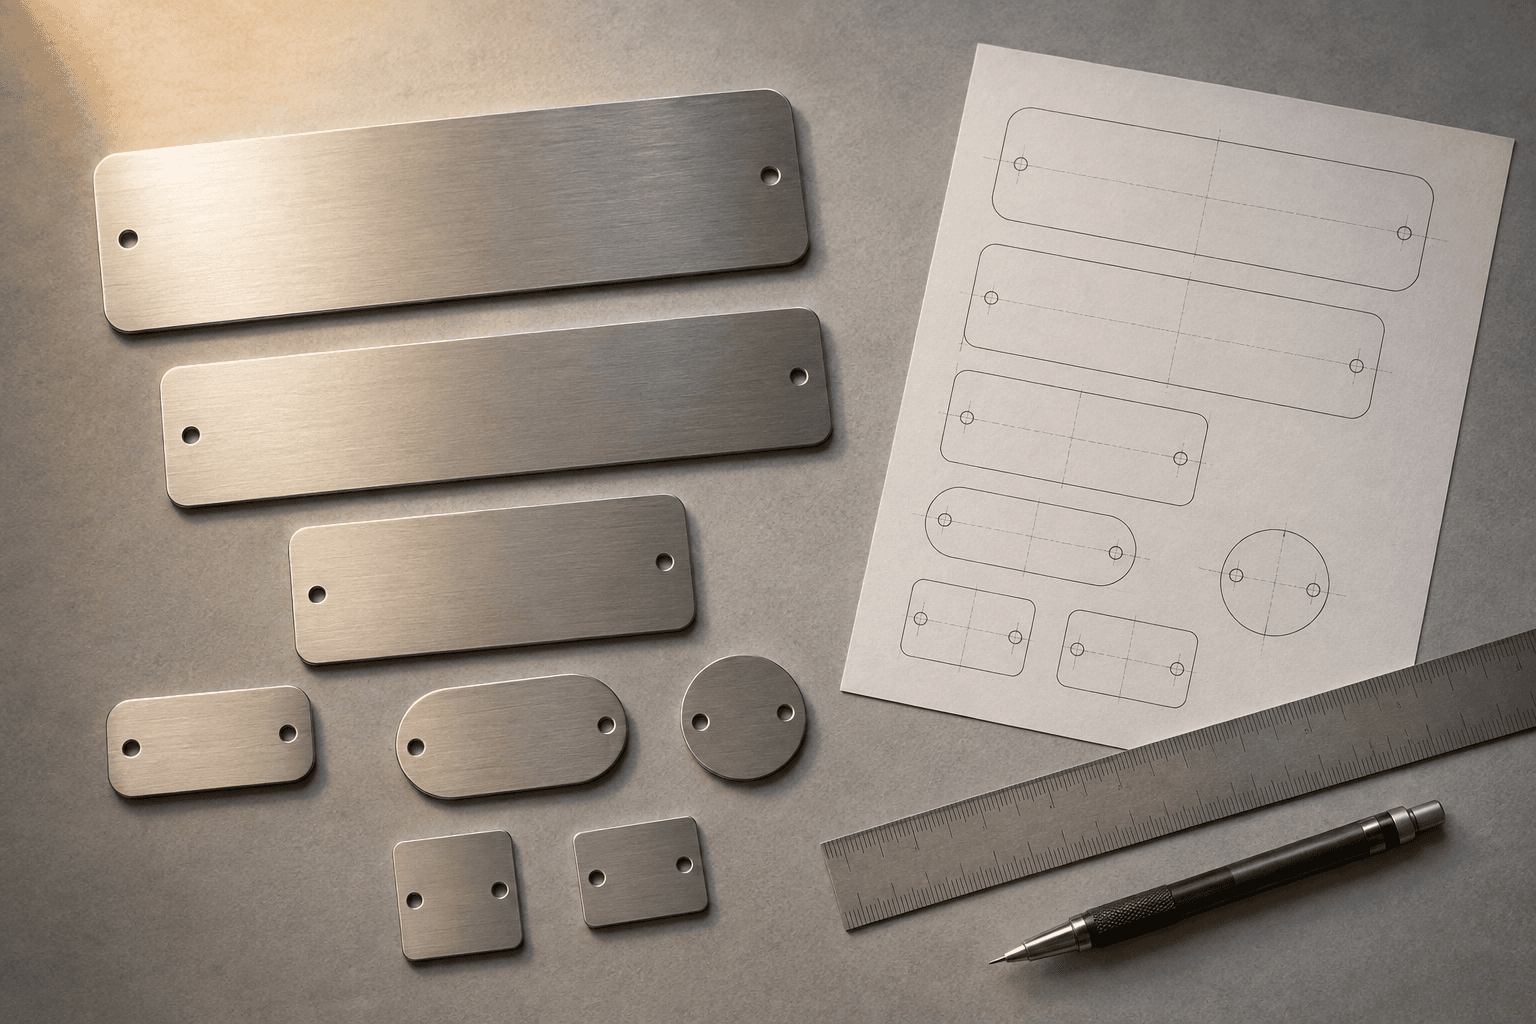
Specify whether a measurement describes the overall assembly, the visible face, the engraving area or an opening in an existing holder. Include thickness, depth, hole spacing and support clearances separately when they matter. Do not round a metric opening into a convenient inch size and assume the fit is unchanged. Identify which drawing and measurement control when two references disagree, and have the responsible project contact resolve that disagreement before the proof is released.
Sources: NIST: SI units: length
Proof names and language without changing their meaning
Personal naming conventions vary across cultures. Keep the exact display text supplied by the person approving it, including accents, punctuation and name order. A shipping contact may use a different form of the name from the inscription; the artwork should not be overwritten by an address record.
For several languages, provide each approved version rather than asking the production file to translate itself. Review the longest lines, the intended reading order and any script-specific layout in the actual proof. A typed sample is useful for wording approval, but it does not establish which font or marking method will reproduce it clearly. Use an unambiguous written date or identify the intended numeric date convention. Keep the accepted text and proof revision together so later edits can be traced.
Sources: W3C: Personal names around the world
Reconcile the quantities and prepare a private brief
Enter groups of matching pieces below. Add a receiving reference and optional width and height, then review the total and the unresolved quote details. The examples above are illustrative; replace them with your own order information. No automatic spares, discounts, freight costs or delivery promises are added.
Method: Sum positive whole-piece quantities, group by the exact receiving reference and convert optional dimensions using 25.4 millimeters per inch. No spare pieces are inferred. Display conversions use at most four decimal places and do not establish manufacturing tolerances. Customs, freight, origin and arrival timing remain quote questions.
Build your international order brief
Add groups of pieces sharing a specification and receiving destination. Use an office, venue or country reference here; street addresses are not needed for this planning step. Quantities are pieces, and delivery groups are not parcel counts.
Compare the complete written order, in a stated currency
Ask each option to identify the product quantity and what is included: personalization, new artwork, tooling, presentation packaging, mounting parts or assembly work. Keep one-time charges separate from recurring piece charges so a future reorder can be discussed accurately. A starting price for a small component is not the price of a complete display. Compare the alternatives against the same approved brief before deciding that one total represents a saving.
Record the currency code next to each quoted amount. Do not combine a product estimate in one currency with a freight amount in another without an explicit conversion source and date. Ask the quote to state the freight service, any quoted import charges and the party responsible for charges that are not included. The worksheet records your requested arrangement, which still needs written confirmation. It calculates no selling price, exchange rate, tax rate or customs charge.
Confirm shipment details for the actual destination
Commercial invoices identify goods, quantities and values. Ask the shipping contact to confirm the accurate product descriptions, origin information and other documentation required for the particular shipment. This guide and its worksheet are planning aids, not customs declarations.
Give the quoting team the receiving country and the actual destination details through the order process. Confirm the ship-from location, the available service and who will answer delivery or import questions. Do not infer the origin of the goods from the storefront name or assume that an event gift has no reportable value. Keep production completion, carrier transit and the requested in-hand date as separate milestones in the written plan. The receiving date you enter below is a request, not a calculated arrival commitment.
Prepare the handoff and the receiving check
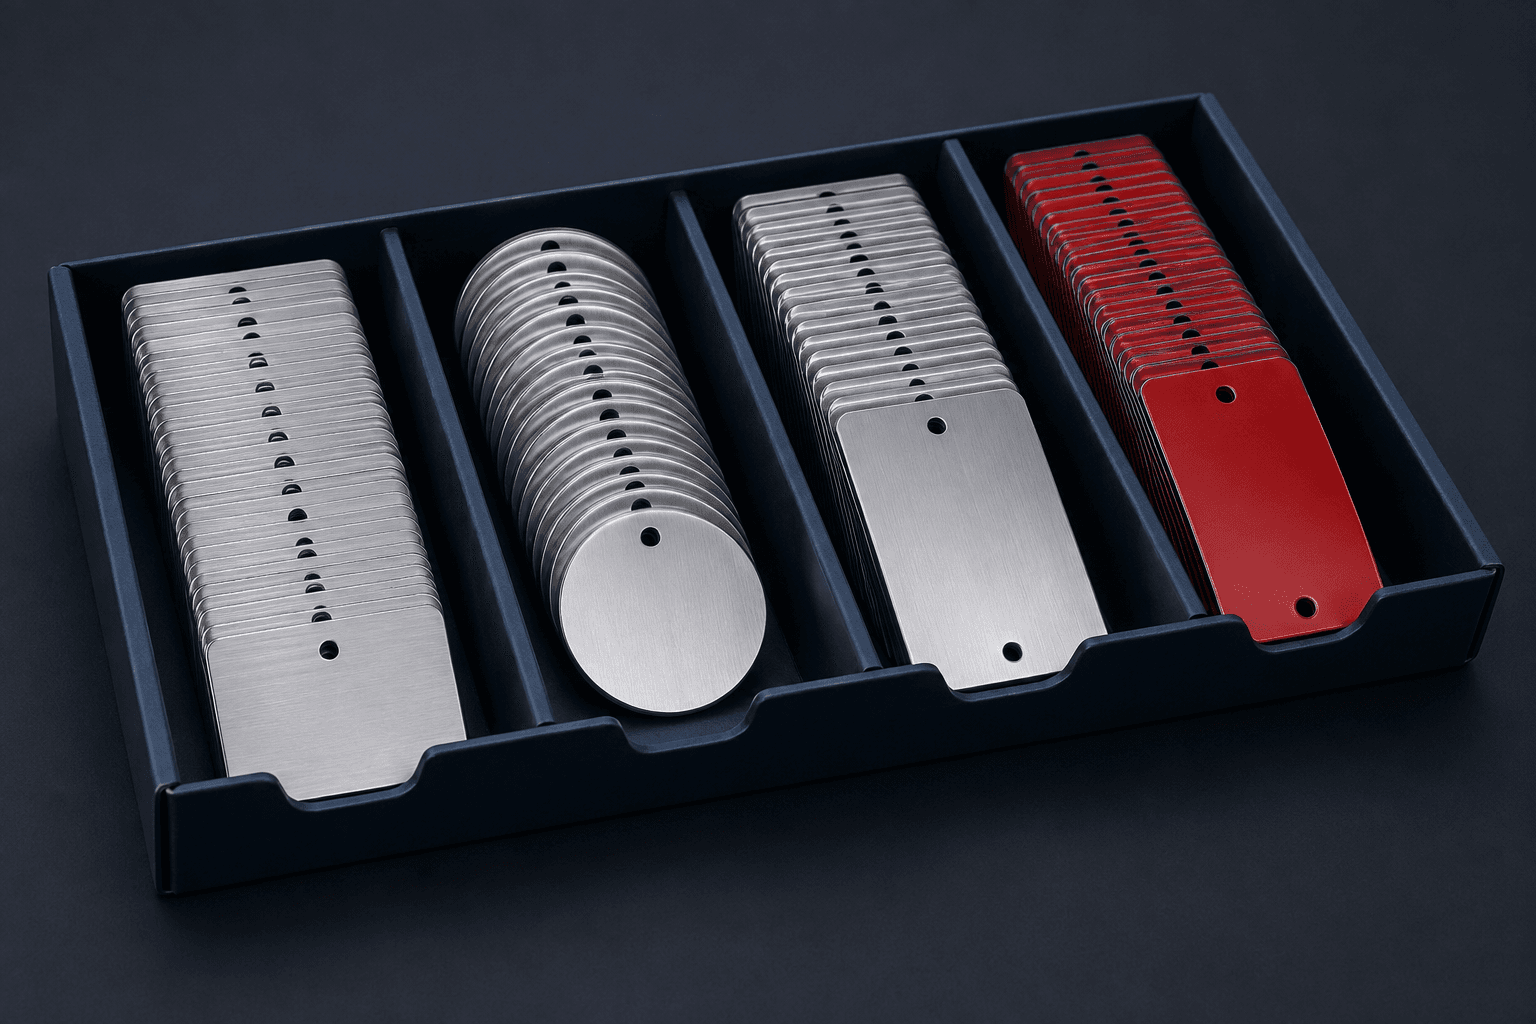
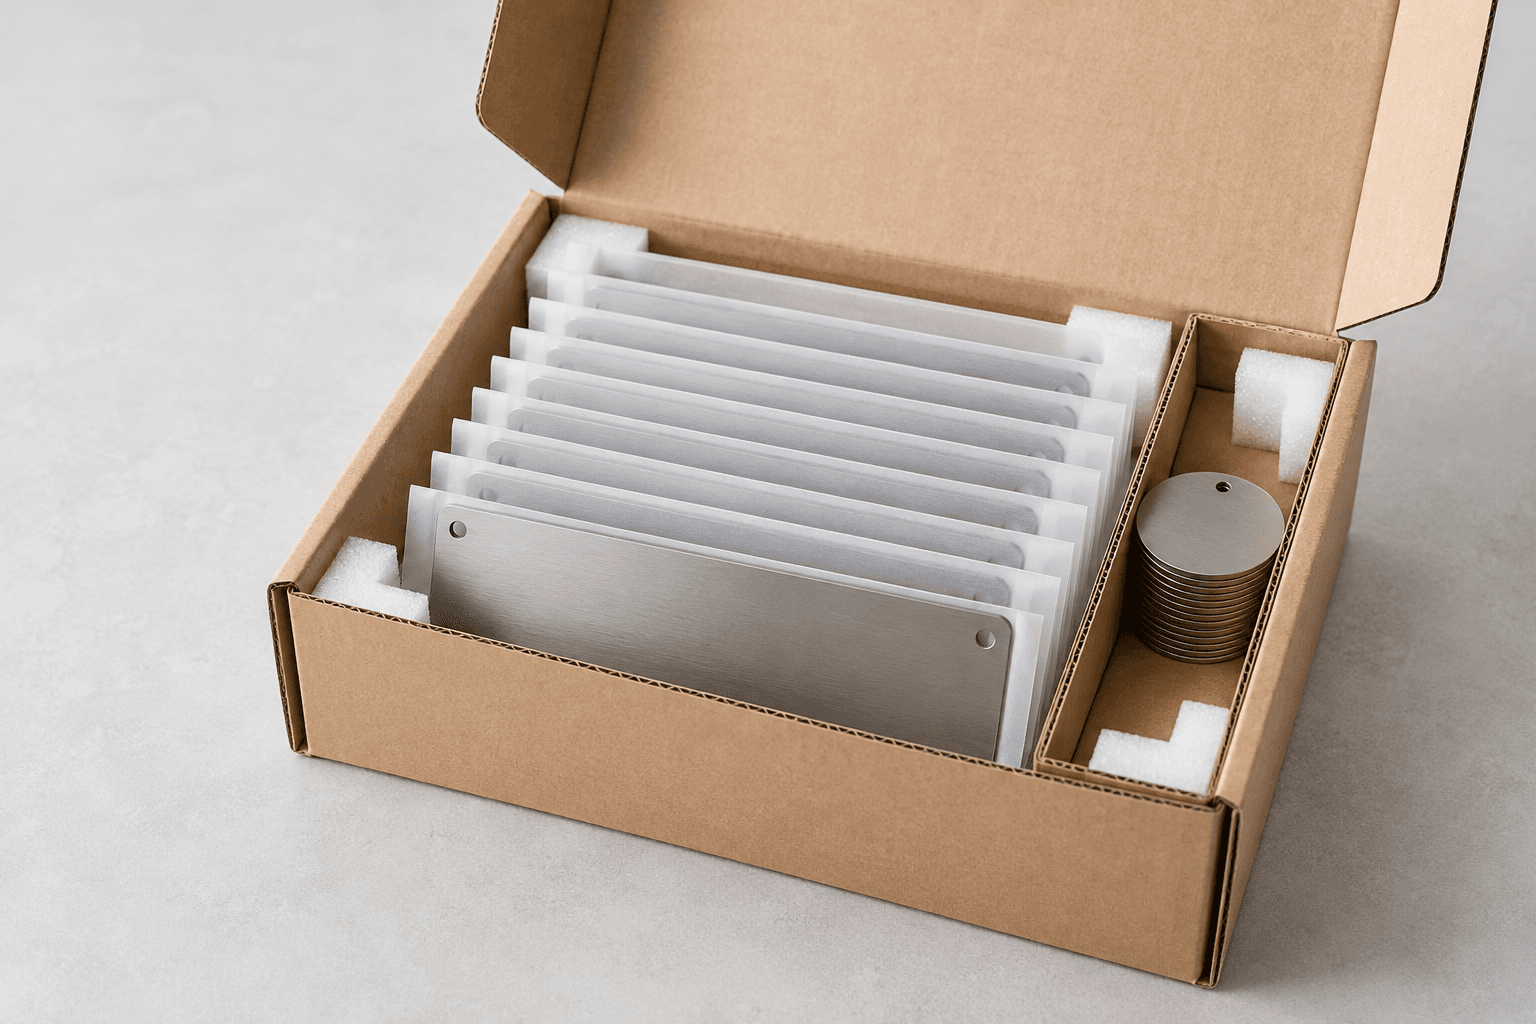
Label each kit with the site, panel and drawing revision. Keep approved warning wording distinct from ordinary asset identifiers. Compare the exported schedule with the source before production, especially leading zeros and unusually long IDs. On receipt, reconcile complete kits against the approved list before installation rather than distributing loose tags by appearance.
Before distribution, match the delivered piece references and component counts to the approved schedule. Check the wording against the accepted proof and keep the packaging while any discrepancy is being reviewed. Identify the affected row, proof revision and photographs when requesting help. Preserve the order record for replacements or a repeat event; a later order still needs its own confirmed specification, price and schedule.
Collection planning overview
This existing narrated collection overview provides background for the design choice. Use the international worksheet and the receiving schedule in this guide for the delivery brief. The visuals are original design concepts rather than footage of completed shipments.
25-second overview
Define the installation
Before changing a tag material, identify what cannot change: the legend, mounting pattern, exposure and project requirements. Compare complete options, preserve identifiers in a controlled file, and review the longest text at the proposed size. Keep the approved drawing with the order record. Use the tag calculator to prepare quantities for your quote.
Prepare your brief and request a written quote.
Questions before the order is released
Does one delivery group mean one parcel?
No. A delivery group connects pieces to a receiver or location. The final construction, packed dimensions and protection determine the package plan. Ask for the actual parcel or freight details in the quote.
Does entering a country confirm delivery service?
No. The worksheet records the destination you want quoted. The order team confirms service for the actual address, shipping arrangements and timing in the written quote.
Will the worksheet add spare pieces or discounts?
No. It adds only the quantities you enter. Create an explicit spare-pieces row if you want extras, and keep personalized pieces separate from blanks. Any discount belongs in the written quote.
Which project details should accompany this brief?
Include exact legend as text; drawing revision; copies and installation kit; material, dimensions and mounting. Keep the exact approved text and the physical specification linked to a stable row reference, then identify the receiving group for each piece.
Turn the schedule into a specific quote request
Choose a design, reconcile the physical pieces and include the decisions that remain open. The quote team can then review the construction, artwork, packing and delivery requirements as one defined project. Save the worksheet result with your approved source files so a later change can be applied to the correct group.
Sources and scope
The sources below support the cited technical details. The ordering workflows are editorial recommendations. Your project specification, price and schedule are established in the written quote and approved proof.
- NIST: SI units: length · checked 2026-09-05
- W3C: Personal names around the world · checked 2026-09-05
- UPS: How to create a commercial invoice · checked 2026-09-05
Which buying guide should you read next?
All buying guidesCompares two published facility electrical identification specifications side by side to show that nameplate colors differ by owner, then lists exactly what to send so engraved tags match your own specification. Panel Tag Co engraves to the specification you supply and makes no code-compliance claim.
Protect the exact identifier through spreadsheet import, export, proof and packing while separating engraving text from quantities and refusing to reconstruct lost digits without an authoritative schedule.
A replacement plate needs a complete mounting pattern as well as its outside dimensions. Preserve the original units, hole references and approved drawing.
Group labels by the cabinet or work stage they belong to, with a contents list that makes each kit easy to receive, issue and replace.